How to Watermark your Images
We all know the importance of a watermark to protect our images, especially for brand recognition, but very few actually know how to accomplish this. Most think we need expensive software like PhotoShop to watermark our images, but there are free and inexpensive ways to do it as well.
Every time I post a photo of a decorative finish on the House of Faux Facebook page, that I have found, and that does not have the artist's name anywhere, I feel sad for that artist. Thousands of people are going to see the photo, many will "like" it and comment on it and the artist may never know how much others are enjoying their beautiful work.
So now that I am giving you two ways to watermark, quit procrastinating and make some time to do it!
~~~~~~~~~~~~~~~~~~~~~~~~~~~~~
There is a very good, easy to use website where you can create a watermark on your images in batches. Saves a lot of time if you want to do a lot at once. There is a free and paid versions to choose from. https://www.watermark.ws
~~~~~~~~~~~~~~~~~~~~~~~~~~~~~
Here are step by step directions I found using fotoflexer.com if you prefer watermarking your images one at a time.
Step 1: (this diy section from www.artsyfartsymama.com)

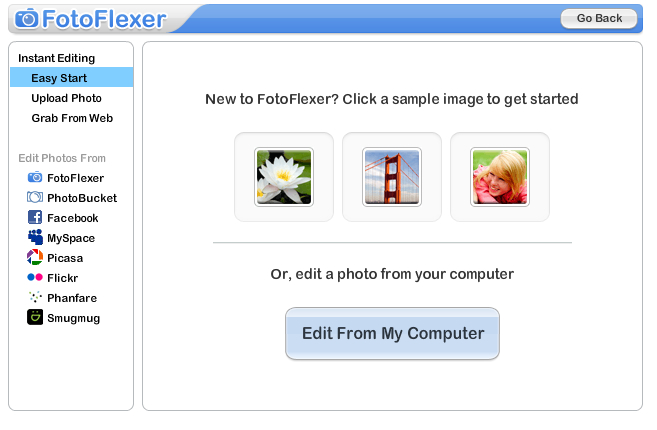
Go to FotoFlexer.com.
{You can create a login if you want to, but it's not required.}
Click on the "Upload Photo" icon {if loading image from your computer} or load your image from any of the locations on the bottom if you store them somewhere else.
Step 2:
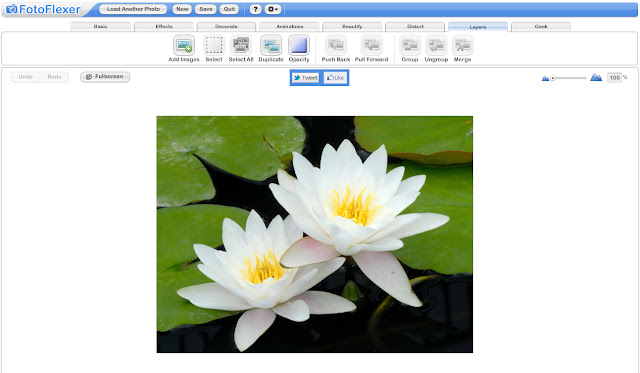
Your image will show in the main window.
Click on the "Layers" tab {second to the last one on the right} and click the "Add Images" option.
Step 3:
A window will come up for you to upload an image.
Click the "Edit from My Computer" button to upload the watermark image you created earlier in this tutorial.
*If you have a custom logo, make sure it is a PNG file with a transparent background.
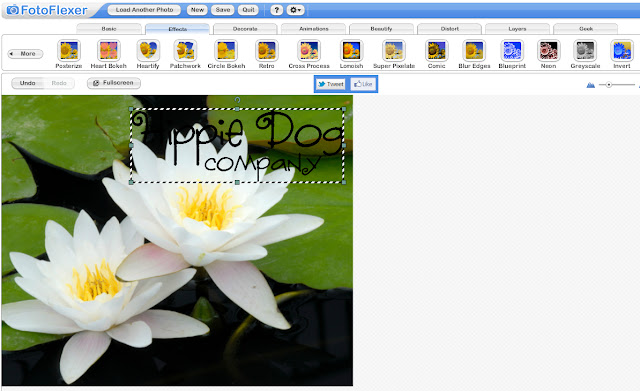
Step 4:

Resize your logo/watermark to fit to your photo by dragging one of the corners and holding down the shift key. You can also rotate your image by clicking on the arrow above the logo. You can make the logo as big or as small as you'd like.
Step 5:

Your logo doesn't have to stand out if you don't want it to. To have it blend in a little bit to your image, select the "Opacity" tool under the "Layers" tab. Move the slider towards 0 to make it more transparent, and towards 100 to make it more opaque. Click "Done" when you're finished. You can select the "Opacity" tool again if you decide to make any changes.
Step 6:
Sometimes a white logo won't work for a light colored photo. Easy to change!
Make sure your logo is selected. Under the "Effects" tab, select the "Invert" effect. This will change your logo from white to black, making it easier to see on lighter images.
Step 7:
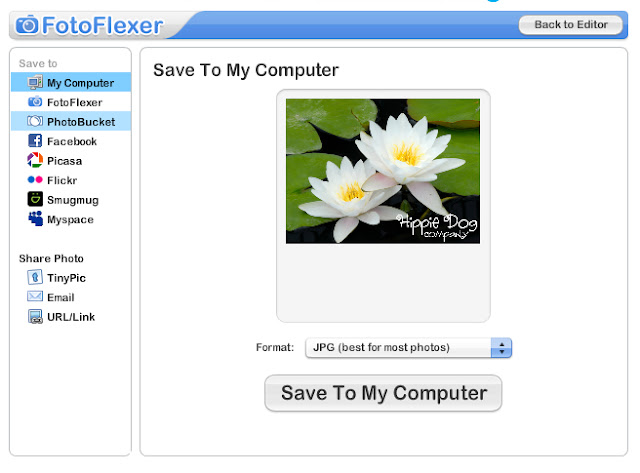
When you're done editing, click "Save" up by the FotoFlexer logo. You can save this in JPG format since you won't need it to have a transparent background.
Step 8:
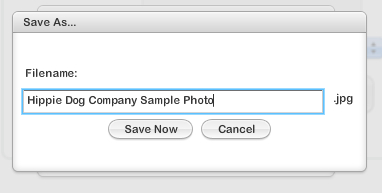
Save your new image.
Now you're on your way to better branding and a step closer to protecting your images!


Comments
Post a Comment